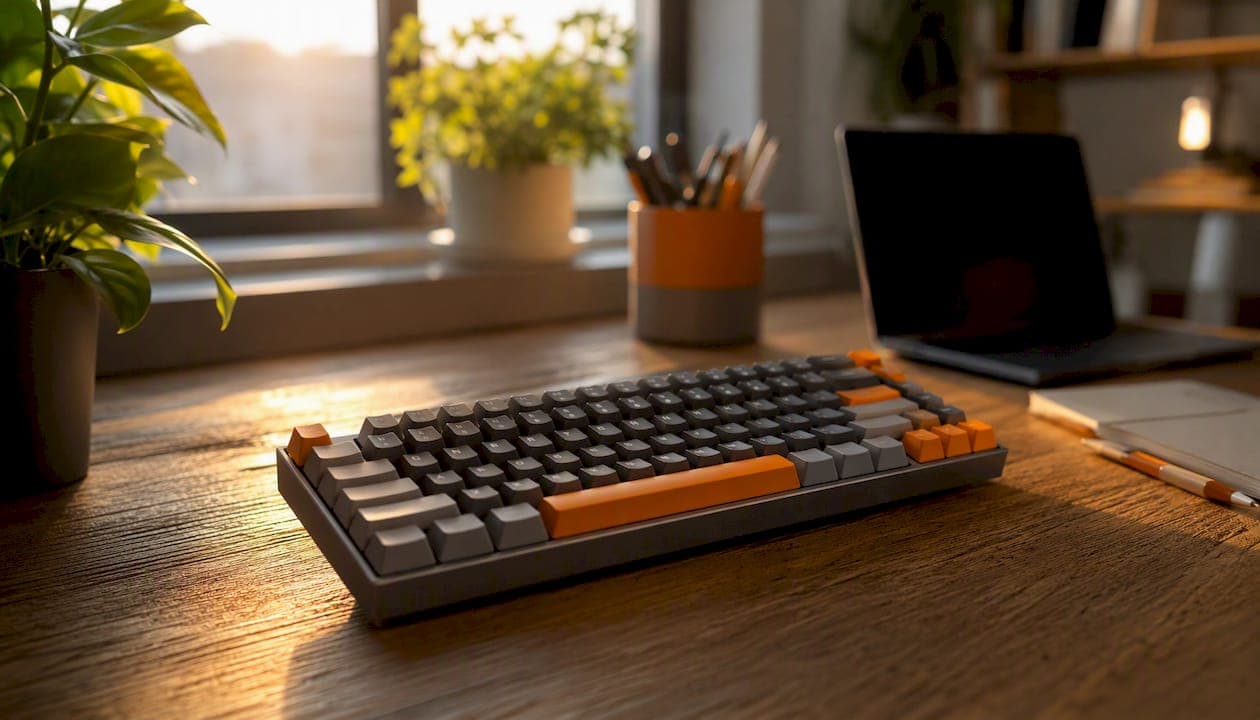
The fastest way to reduce keyboard noise on a mechanical keyboard is to combine a neoprene desk mat, O-rings, and stabilizer lubing. Those three changes alone handle the majority of the clatter most people hear. If you want to go further, lubing switches and adding case foam will take you from "noticeably quieter" to "genuinely muted." Here is the priority order before you open a single screw:
- Desk mat or keyboard pad — place it under the board right now, zero disassembly required
- O-rings on keycaps — install in under 20 minutes, fully reversible, cuts roughly 5–8 dB of total volume
- Stabilizer Band-Aid mod + dielectric grease — eliminates the high-pitched rattle on spacebar and shift
- Switch lubing — the most time-consuming fix, but it can reduce switch noise by up to around 12 dB
- Case and plate foam — the single largest acoustic improvement for most boards
"Quieter" will sound different depending on your switches. Linears with lube and foam land on a deep, low thock. Tactiles get a softer, rounded bump sound. Clicky switches stay clicky no matter what you do to the housing; if silence is the goal, the switch itself needs to change.
Key Takeaways
The most effective way to quiet a mechanical keyboard is to layer fixes in order of impact and reversibility: start with a desk mat and O-rings, then address stabilizer rattle, then lube switches, and only open the case for foam when you need more.
| Point | Details |
|---|---|
| Start with reversible fixes | A desk mat and O-rings cut 5–8 dB of total volume with no disassembly and under $50 spent. |
| Stabilizers are the hidden culprit | Band-Aid mod plus dielectric grease eliminates the high-pitched rattle on spacebar and shift keys. |
| Lubing delivers the biggest active gain | Switch lubing can reduce switch noise by up to around 12 dB but takes 3–5 hours for a full board. |
| Case foam is the top passive upgrade | Foam between the PCB and case bottom is the single largest acoustic improvement for most boards. |
| Deskbound's desk setup guides | Deskbound's home office upgrade guides cover desk mats, wrist rests, and workspace fixes that complement every mod on this list. |
Table of Contents
- How to reduce keyboard noise with quick, reversible fixes
- How do stabilizers cause rattle, and how do you fix it?
- Lubing switches and using switch films: a step-by-step guide
- Advanced acoustic tuning: foam, gasket mounts, and plate materials
- Which switches and keycap materials are quiet by design?
- What tools and materials do you actually need?
- What should you try first? A practical prioritization
- The mod most people skip is the one that matters most
- Quieter typing starts with the right workspace setup
- Sources
How to reduce keyboard noise with quick, reversible fixes
These require no soldering, no disassembly, and no special skills. Start here.
Desk mat. Moving a keyboard from a bare wooden desk to a 4.0mm neoprene mat produced a measured 4.2 dB drop in one controlled test. A large mat (at least 24 x 14 inches) also absorbs mouse and wrist noise, making the whole desk feel quieter. Cost: $15–$35. Time: 30 seconds.
O-rings for keyboard keycaps. Silicone O-rings slip onto the cross-stem of each keycap and cushion the bottom-out impact. The result is a softer landing sound and a slightly shorter travel feel. Harder durometer rings (70A) preserve more travel; softer rings (40A) dampen more aggressively but can make the board feel mushy. A full set costs around $5–$10 and takes about 15–20 minutes to install.
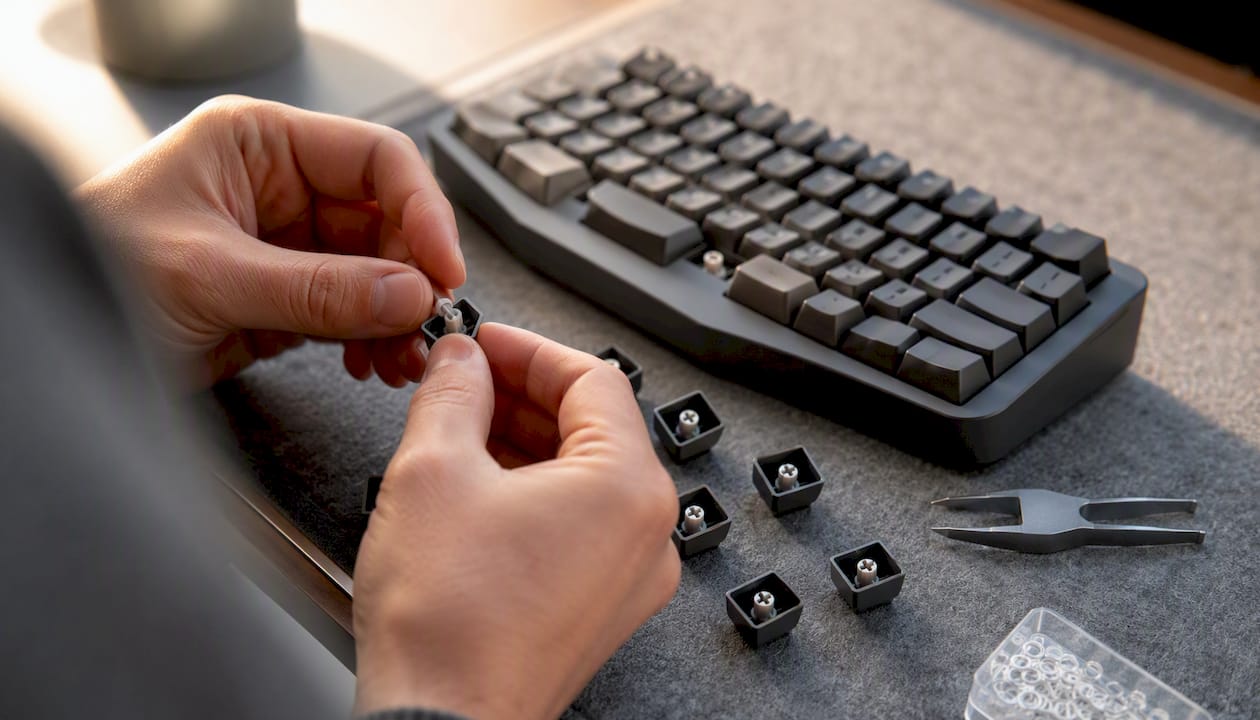
Thick PBT keycaps. Thin ABS keycaps resonate and produce a higher-pitched clack. Thicker PBT keycaps produce a lower, more muted tone because the denser material absorbs more of the impact energy. Swapping a full set costs $25–$60 and is completely reversible. This is one of the few fixes that also improves the look of the board.
Keyboard repositioning. Angling the board slightly away from hard reflective surfaces (monitors, glass panels) reduces the amount of sound that bounces back to your ears. Not a dramatic fix, but it costs nothing.
Wrist rest. A padded wrist rest does more than protect your joints. OSHA's workstation guidance recommends supports that contact the heel of the hand rather than the wrist itself, which encourages a neutral hand position and lighter keypresses. Lighter keypresses mean less impact noise at the bottom of each stroke.
Pro Tip: Match O-ring durometer to your switch travel. On switches with 4mm total travel (most Cherry MX-style), a 0.2mm thick 40A ring removes too much travel and makes the board feel dead. A 0.4mm 70A ring is the safer starting point for most linear and tactile switches.
How do stabilizers cause rattle, and how do you fix it?
Stabilizers control the large keys: spacebar, left shift, enter, backspace, and numpad plus. Each stabilizer has a wire that runs through two plastic housings. When that wire bounces inside the housing, or when the housing itself has loose tolerances, you get a high-pitched metallic rattle that no amount of switch lubing will fix. Stabilizer rattle is one of the most commonly overlooked noise sources on otherwise well-modded boards.
What you need
- Dielectric grease (Permatex or similar)
- Isopropyl alcohol (90%+) and cotton swabs for cleaning
- Small flathead screwdriver or spudger
- Masking tape or medical tape cut into small strips
- Switch opener (optional but helpful)
Step-by-step stabilizer fixes
- Remove the keycap from the affected key and pull the stabilizer wire free from its housing clips.
- Clean the wire and housing with isopropyl alcohol. Old factory lube often turns gummy and makes rattle worse.
- Clip the stabilizer legs (if your stabilizers have small plastic legs on the bottom of the housing). Clipping removes the legs that cause uneven contact with the PCB. Use flush-cut nippers and clip only the two small legs, not the main housing body.
- Apply the Band-Aid mod. Cut two small strips of masking tape or medical tape and stick them to the PCB directly under each stabilizer housing. This cushions the wire's downstroke and eliminates the metallic ping at the bottom of travel.
- Lube the wire. Apply a thin coat of dielectric grease to the full length of the wire where it contacts the housing. Too much grease makes the key feel sluggish; a thin, even coat is enough.
- Lube the housing contact points. Use a small brush or cotton swab to apply dielectric grease inside the housing where the wire slides. Cover the inner walls but avoid getting grease on the stem slider.
- Reassemble and test. Press the key slowly and listen. A properly modded stabilizer produces a low, even thud rather than a metallic clack.
Estimated time: 20–40 minutes for a full keyboard. Compatibility note: this process works on both hot-swap and soldered PCBs. You do not need to desolder anything for stabilizer work unless you are swapping the stabilizer housings themselves.
Pro Tip: If rattle persists after lubing, the wire may be slightly bent. Lay it on a flat surface and press gently with your thumb to straighten it before reinstalling. A crooked wire will rattle no matter how much grease you apply.
Lubing switches and using switch films: a step-by-step guide
Lubing switches reduces the plastic-on-plastic friction that causes scratchy, high-pitched noise during the keystroke. Switch films, thin shims placed between the top and bottom housing halves, reduce stem wobble that creates a secondary rattling sound. Together, they can cut switch noise by up to around 12 dB compared to unlubed switches.
What you need
- Switch opener (a small plastic tool, around $5–$8)
- Krytox 205g0 (for linears) or Krytox 103 oil (for tactiles and springs)
- Small paintbrush (size 0 or 00)
- Switch films (Deskeys or TX films, around $8–$12 per pack)
- Keycap puller and switch puller (for hot-swap boards)
- Small tray or container to hold switch parts
Budget setup: around $25–$35 total. Full kit with premium lubricants and films: around $50–$70.
Step-by-step lubing workflow
- Remove switches from the board using a switch puller (hot-swap) or desolder them (soldered). Work in batches of 10–20 to stay organized.
- Open each switch with the switch opener. The top housing pops off with light pressure on two clips.
- Remove the spring and stem. Keep the bottom housing, spring, stem, and top housing together as a set.
- Lube the spring. Drop springs into a small bag with a tiny amount of Krytox 105 oil, shake gently, and lay them out to dry. This eliminates spring ping.
- Lube the stem legs. Apply a thin coat of 205g0 to the two side rails (legs) of the stem using the paintbrush. On tactile switches, avoid the tactile bump contact point — lubing it removes the tactile feedback.
- Lube the bottom housing rails. Brush a thin coat along the two inner rails where the stem slides.
- Install a switch film between the top and bottom housing before closing. Press the housing halves together until they click.
- Reassemble and reinstall. Test a few switches before doing the full board.
Estimated time: 3–5 minutes per switch, so a 65-key board takes roughly 3–5 hours. This is the most time-intensive mod on this list, but the acoustic payoff is significant.
Pro Tip: Less lube is always better. A common mistake is applying too much to the stem, which makes linears feel sluggish and can contaminate the tactile bump on tactile switches. If the brush leaves a visible wet streak, you have used too much. Aim for a thin, barely-there film.
Advanced acoustic tuning: foam, gasket mounts, and plate materials
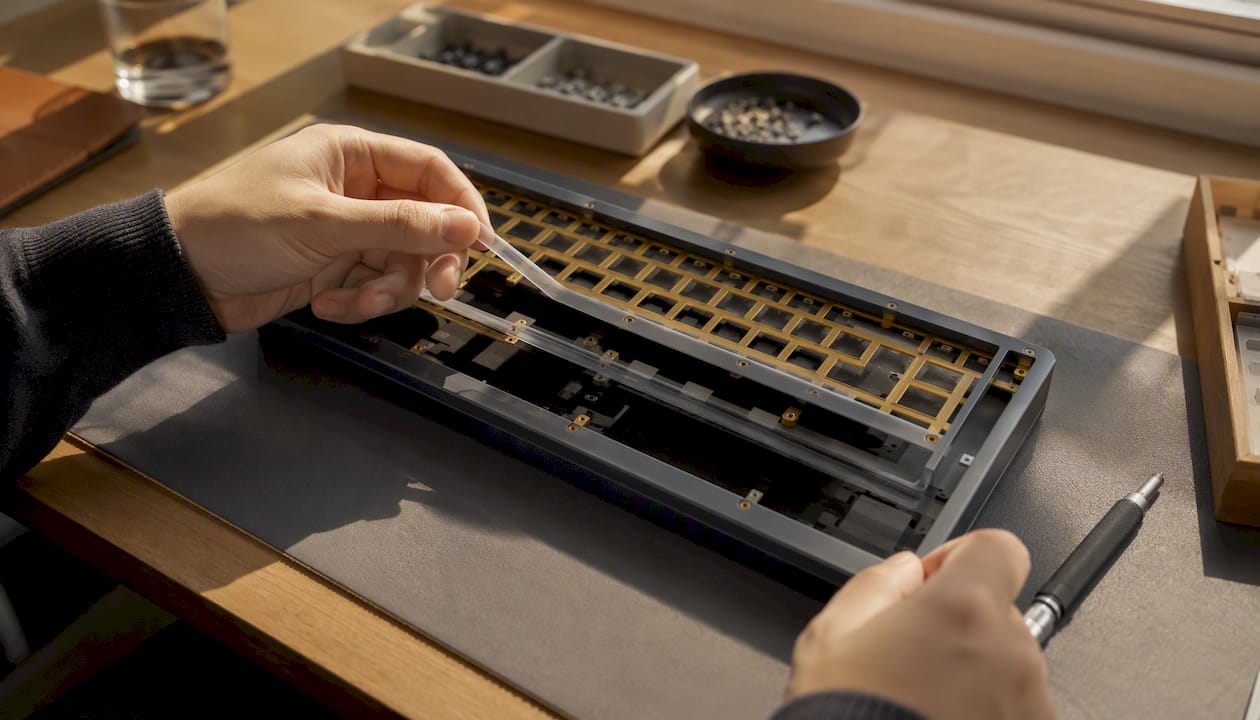
Foam mods change the internal acoustics of the keyboard case itself. Case foam is the single most impactful modification for improving a keyboard's sound profile on most boards, because it fills the air gap between the PCB and the bottom of the case where sound resonates and amplifies.
Foam locations and materials
- Case foam (between PCB and case bottom): use 3–5mm PE foam or Poron. Poron is denser and produces a more muted sound; PE foam gives a slightly bouncier thock. Cut to fit the interior of the case bottom.
- Plate foam (between the plate and PCB): use 0.5–1mm IXPE or thin Poron. This reduces the hollow resonance between the plate and PCB layer.
- PCB foam / switch foam (small cutouts placed under each switch): reduces the sound of the switch bottoming out against the PCB. More fiddly to install but adds a noticeable improvement on boards with a lot of PCB flex.
The Tempest tape mod is a simpler alternative to PCB foam: apply masking tape to the back of the PCB in strips. Community acoustic tests referenced by KeyCraft showed roughly a 30% reduction of certain high-frequency peaks after this mod.
Installation steps
- Open the case by removing the screws from the bottom plate.
- Lift the PCB/plate assembly out carefully.
- Cut foam to match the case interior using scissors or a craft knife. Trace the case bottom on the foam sheet first.
- Lay the foam flat in the case bottom. Do not use conductive foam (the pink anti-static variety) — it can short the PCB.
- Reassemble and test before adding plate or PCB foam. Add layers incrementally to avoid over-dampening.
Pro Tip from the community: Start with case foam only, listen, then add plate foam if you want more dampening. Over-dampening kills the natural resonance that gives a keyboard its character. A board that sounds completely dead is not pleasant to type on either.
Gasket-mounted keyboards isolate the PCB/plate assembly from the case using silicone or rubber gaskets, which dramatically reduces the hard, sharp sound of each keypress. If you are building a new board, a gasket mount is worth prioritizing. Retrofitting one onto an existing tray-mount or top-mount board is not practical.
Which switches and keycap materials are quiet by design?
Switch choice is the most powerful passive noise control available, and it is the right starting point if your board is hot-swap capable.
Silent switches use built-in rubber bumpers on the stem that cushion both the downstroke and the upstroke. Silent switches reduce typing noise dramatically compared to standard clicky switches. Popular options include Gateron Silent Red, Gateron Silent Yellow, and Durock Silent Linear. They feel smooth and produce a soft, muffled thud rather than a click or clack.
Linear switches (without silent bumpers) are quieter than clicky switches but louder than silent variants. They respond well to lubing and films, which is why they are the most popular choice for modded boards.
Tactile switches produce a bump during the keystroke that creates some noise, but less than clicky switches. Lubing tactiles reduces scratch noise without eliminating the tactile bump, as long as you avoid lubing the bump contact point.
Clicky switches (Cherry MX Blue, Kailh Box White) are designed to make noise. No amount of modding will make them truly quiet. If you are in a shared space and using clicky switches, the switch itself needs to change.
On keycap materials: thick PBT keycaps produce a lower, more muted tone than thin ABS keycaps. ABS resonates more, which adds a higher-pitched quality to each keypress. Doubleshot PBT sets from brands like Akko, Domikey, or EPBT cost $30–$60 and are a straightforward upgrade.
Compatibility checklist before buying switches:
- Hot-swap PCB: you can swap switches without soldering. Check your board's spec sheet.
- MX-compatible stems: most aftermarket switches use the standard Cherry MX cross stem. Low-profile boards (Keychron K1, Logitech GL) use proprietary stems and are not compatible.
- Soldered boards: switch replacement requires a soldering iron and resoldering pump. Factor in that time and skill requirement.
What tools and materials do you actually need?
You do not need to buy everything at once. Here is what each stage of modding requires.
Beginner kit (reversible fixes only):
- Keycap puller: $5–$8 (wire pullers are gentler than plastic ones)
- O-rings: $5–$10 for a full set
- Desk mat: $15–$35
- Total: around $25–$50
Intermediate kit (stabilizers + lubing):
- Switch opener: $5–$8
- Switch puller (for hot-swap): $5–$8
- Krytox 205g0 (4g jar): $10–$15
- Krytox 103 or 105 oil: $8–$12
- Dielectric grease (Permatex): $5–$8
- Small paintbrushes (size 0): $3–$6
- Switch films: $8–$12
- Total: around $45–$70
Advanced kit (foam mods + full build):
- All of the above, plus:
- PE foam or Poron sheet: $8–$15
- IXPE plate foam: $5–$10
- Precision screwdrivers (JIS and Phillips): $10–$20
- Spudger or plastic pry tool: $5–$8
- Total addition: around $30–$55
Safety notes:
- Never use conductive foam (pink anti-static foam) inside the case. It can bridge PCB contacts and cause shorts.
- Ground yourself before handling the PCB. A simple anti-static wrist strap costs around $5 and prevents electrostatic discharge damage.
- Use only non-conductive lubricants (Krytox, Tribosys). Never use WD-40, cooking oil, or petroleum-based products on switches.
Pro Tip: Buy lubricant in small quantities first. A 4g jar of Krytox 205g0 is enough for a full 65-key board with some left over. Buying a large jar before you know your preferred application thickness is a common waste of money.
What should you try first? A practical prioritization
The right starting point depends on how quiet you need to be and how much time you want to spend.
If you need results in 10 minutes or less:
- Place a desk mat under the keyboard
- Install O-rings on the keycaps
- Reposition the board away from reflective surfaces
If you have about an hour:
- Do the Band-Aid mod and lube the stabilizers (highest impact per hour spent)
- Swap to PBT keycaps if you have a set available
- Add a wrist rest to encourage lighter keypresses
If you are ready for a half-day project:
- Lube all switches and install switch films
- Add case foam
- Add plate foam incrementally, testing between layers
Matching your goal to the right mod:
- Very quiet for a shared office or open-plan space: silent switches plus case foam plus stabilizer work
- Moderately quieter for home use: desk mat plus O-rings plus stabilizer lube
- Preserve tactile feel but reduce harshness: lube tactile switches (avoid the bump), add plate foam, swap to PBT keycaps
Ergonomic pro tip: OSHA's wrist and palm support guidance recommends keeping the wrist in a neutral, flat position during typing. A best keyboard wrist rest that contacts the heel of the hand rather than the wrist itself helps you type with less downward force, which directly reduces bottom-out noise. Ergonomics and acoustics turn out to be the same problem.
When to stop modding and buy a pre-silenced board. If you have lubed the switches, modded the stabilizers, added foam, and the board still sounds too loud, the case material and mount type are the limiting factor. Tray-mount boards with thin plastic cases have a ceiling. At that point, a gasket-mounted board with silent switches is a more efficient investment than additional mods.
The mod most people skip is the one that matters most
Most guides lead with switch lubing because it is the most satisfying mod to talk about. It is tactile, methodical, and the before/after difference is real. But if you have ever lubed a full board and still found the spacebar rattling like a loose coin, you already know the problem: stabilizers were the actual noise source the whole time, and lubing the switches did nothing to fix them.
The conventional advice gets the order wrong. Stabilizer work should come before switch lubing on almost every board. The rattle from a poorly modded spacebar is louder and more distracting than the scratch from an unlubed switch. Fix the stabilizers first, then decide whether the switches still need attention.
The other thing most guides understate is how much typing behavior affects noise. A wrist rest that holds your hands in a neutral position reduces the force you put into each keypress. Lighter keypresses mean less bottom-out impact, which means less noise, regardless of what switches or foam you have installed. The ergonomic fix and the acoustic fix are the same fix. That connection rarely gets made explicit, and it is worth making.
Finally: foam mods are reversible, cheap, and often transformative. The hesitation most people feel about opening their case is understandable, but the process is straightforward on most boards. If you have already done the stabilizers and the switches and you want more, case foam is the next move. Add it in one layer, test, and stop when the sound is right. Over-dampening is a real outcome, and a board that sounds completely dead is not an improvement.
Quieter typing starts with the right workspace setup
Keyboard mods get you most of the way there, but the desk surface, wrist support, and overall setup complete the picture. A large desk mat absorbs impact noise from the board and the mouse simultaneously. A well-placed wrist rest reduces the force behind every keypress. These are not afterthoughts — they are part of the same acoustic and ergonomic system.

Deskbound covers exactly this kind of practical, problem-first workspace thinking. The guides on the site walk through desk mat picks, wrist rest options, and home office upgrades that address real friction points rather than surface-level aesthetics. If you are building a quieter, more comfortable setup from the ground up, the Deskbound desk setup guide is a useful next step — it covers the full workspace, not just the keyboard.
Sources
- How I Built a Silent Mechanical Keyboard
- How To Make Your Keyboard Quieter In 2026: Proven Sound Dampening Methods - KeyCraft UK
- Foam Mod Guide: Best Sound Dampening for Keyboards
- Computer Workstations: Components - Wrist and palm support (OSHA)
- The Ultimate Guide to Quiet Mechanical Keyboards